To use a Personal project type, you’ll need to run EvolutionAPI on your own infrastructure. This guide explains how to register your self-hosted server with EvolutionAPI Cloud.Documentation Index
Fetch the complete documentation index at: https://docs.evoapicloud.com/llms.txt
Use this file to discover all available pages before exploring further.
Prerequisites
Before registering your server, make sure you have:- A running EvolutionAPI instance (version 2.2.1 or higher)
- Access to your server’s admin panel or configuration
- Your server’s API token
Server Registration
To register your server, click on the button ”+ Server” in top right corner: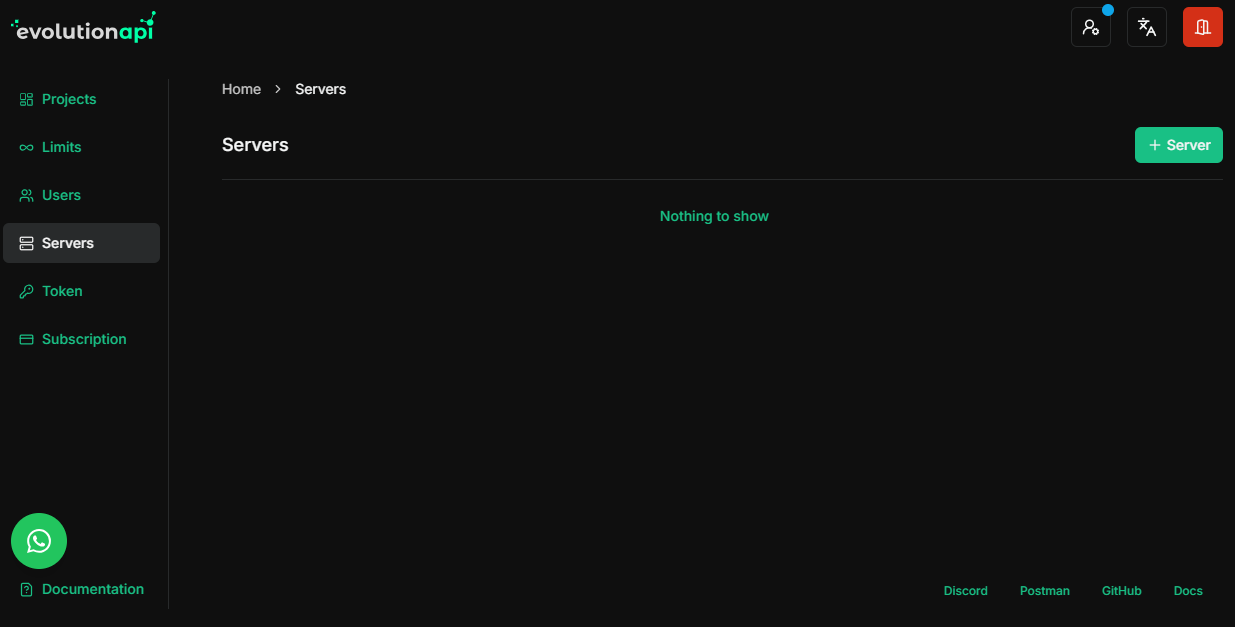
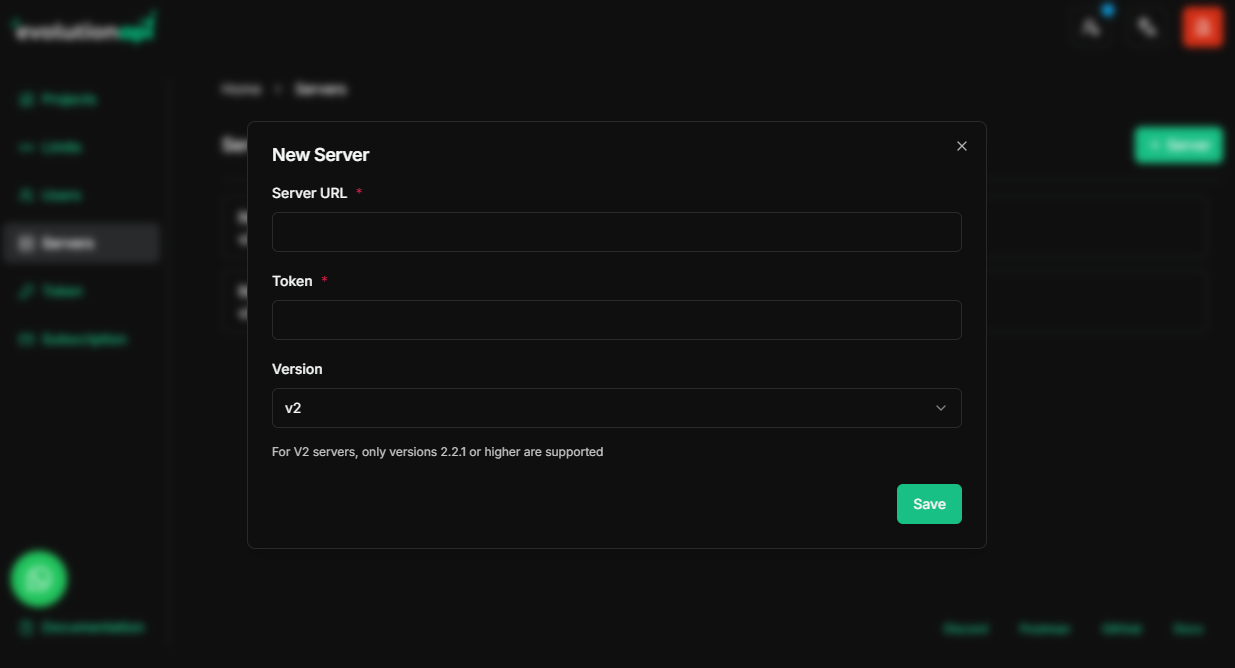
Configuration Fields
-
URL Server:
URL Server where the EvolutionAPI is running. -
Token:
This is your access key required for secure communication with the EvolutionAPI instance. Ensure this is kept private. -
Version:
Select the EvolutionAPI version to run.- V2
- V1
⚠️ Only versions2.2.1or higher are supported for V2 servers
Setup Instructions
-
Deploy the API Server:
Install and configure EvolutionAPI on your server or VM according to the official deployment documentation. -
Retrieve the Token:
Obtain the API token from your EvolutionAPI admin panel or the configuration file. -
Configure the Version:
Select the desired API version. For stability and support, versions2.2.1+are recommended. -
Testing the Setup:
Verify the API connection by sending a test request using the following command:
Verification
After entering your server details:- The system will verify the connection to your server
- If successful, your server will be registered and available for use in Personal projects
- You can then create Personal projects that use your self-hosted instances
Need help setting up EvolutionAPI on your server? Check our deployment documentation.
Creating a project personal
Now you can create a project personalProject Personal
Allows you to manage your own self-hosted EvolutionAPI instances through our SaaS interface.